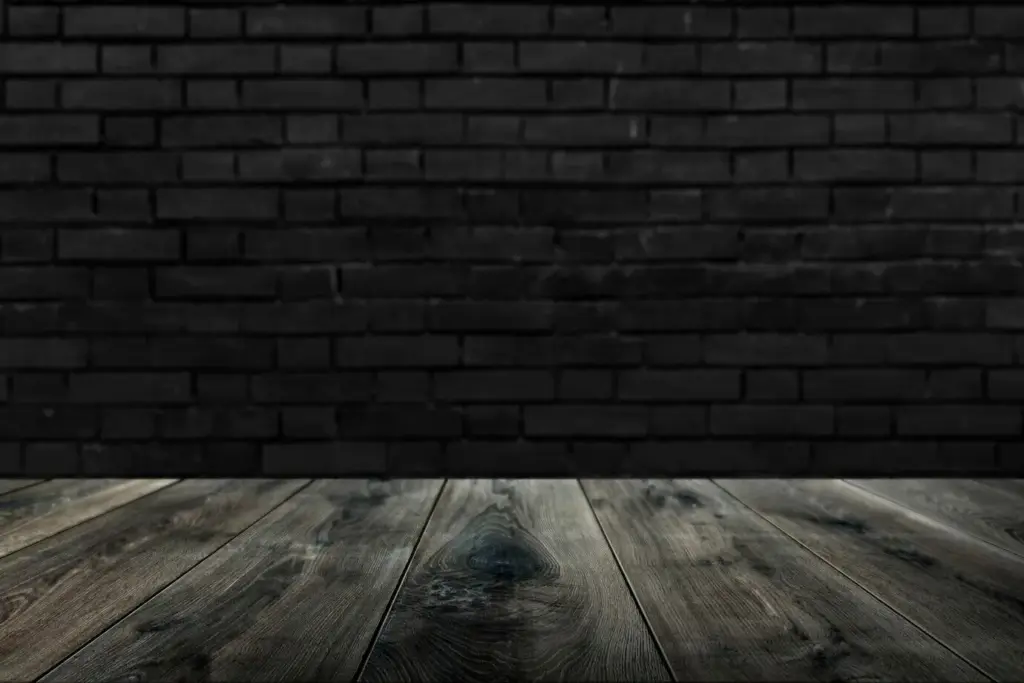
Reviving Hardwood After Water Strikes

Today we focus on repairing water‑damaged hardwood floors, guiding you through practical assessment and step‑by‑step restoration actions that return stability, beauty, and value. From first response to drying, repair, and refinishing, you’ll learn proven methods, safety notes, and small pro tricks. Share your situation, ask questions, and subscribe for follow‑ups that help you move confidently from panic to plan, and from ripples and stains to smooth, resilient floors that welcome bare feet again.

Act Fast: The Crucial First Day

In the first twenty‑four hours, choices determine whether planks recover or deform permanently. Stopping the water, staging safe access, and beginning controlled removal are essential. We’ll outline practical steps homeowners and pros use to limit swelling, prevent mold, and protect subfloors. Keep notes and photos for insurers, label affected rooms, and breathe—clear priorities replace panic once you sequence actions intelligently.

See the Whole Picture: Assessing Extent and Risk

Assessment blends instruments and observation. Moisture meters, infrared imaging, and simple tape tests reveal wet pockets under boards and along walls. Species, board width, finish type, and installation method influence response. We’ll interpret cupping versus crowning, distinguish staining causes, and decide when hidden cavities or insulation require opening for honest drying.

Air Movers and Negative Pressure Tenting

Angle centrifugal movers to create a circular pattern that skims surfaces rather than blasting into gaps. Build plastic tents with zipper doors and vent to a dehumidifier or exhaust, establishing slight negative pressure. This limits vapor migration, speeds evaporation, and reduces dust when later sanding or performing localized board repair.

Dehumidifiers and Temperature Control

Use LGR or desiccant units sized to cubic footage and moisture load, monitoring grains‑per‑pound to judge progress. Maintain warm, stable temperatures to encourage release from wood cells. Protect finishes by avoiding excessive heat. Empty condensate safely or run to a drain, and clean filters daily for consistent performance.

When to Pull Boards for Faster Drying

If readings plateau far above dry standard, selectively lift boards at centers, not edges, to vent trapped moisture and protect tongues. Number pieces for reinstallation. Inspect felt, adhesives, and plywood plies. Sometimes temporary removal saves time, avoids discoloration spread, and reduces the risk of microbial growth in cavities.

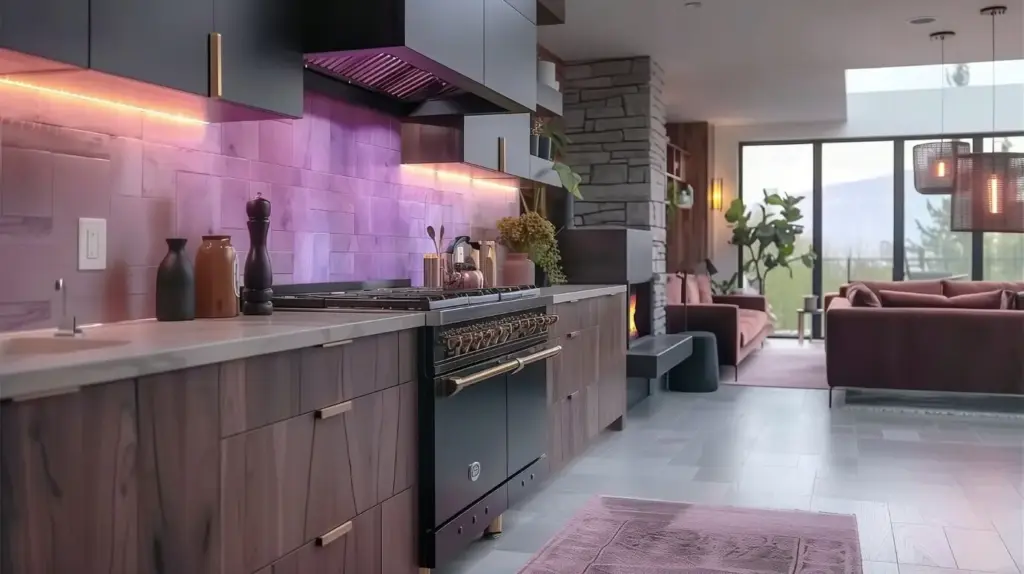
Repair with Confidence: Replace, Patch, or Reuse

Once moisture stabilizes near equilibrium, evaluate planks individually. Light cupping sands flat; structural delamination or severe buckling merits replacement. Choose matching species, grade, and width, acclimate carefully, and stagger joints. Confirm subfloor moisture thresholds before fastening. Good planning preserves rhythm lines so repaired areas disappear in daily light and movement.

Flattening Without Over-Sanding

Start with conservative grits and climb methodically, checking with a raking light to spot dish‑outs or edge waves. Keep machines moving; pause only off the floor. Vacuum between grits to prevent stray abrasives from scarring. Measure thickness near vents to avoid exposing nails during aggressive passes on repairs.

Color Matching Across Old and New

Account for sun fade and age ambering when mixing stains. Start lighter; you can deepen tone with additional coats or dye concentrates. Water‑pop consistently to open grain. Test sheen under daylight and lamplight. Record recipes so future touch‑ups match, and share successful mixes with readers in the comments.

Stay Dry for Good: Prevention and Peace of Mind

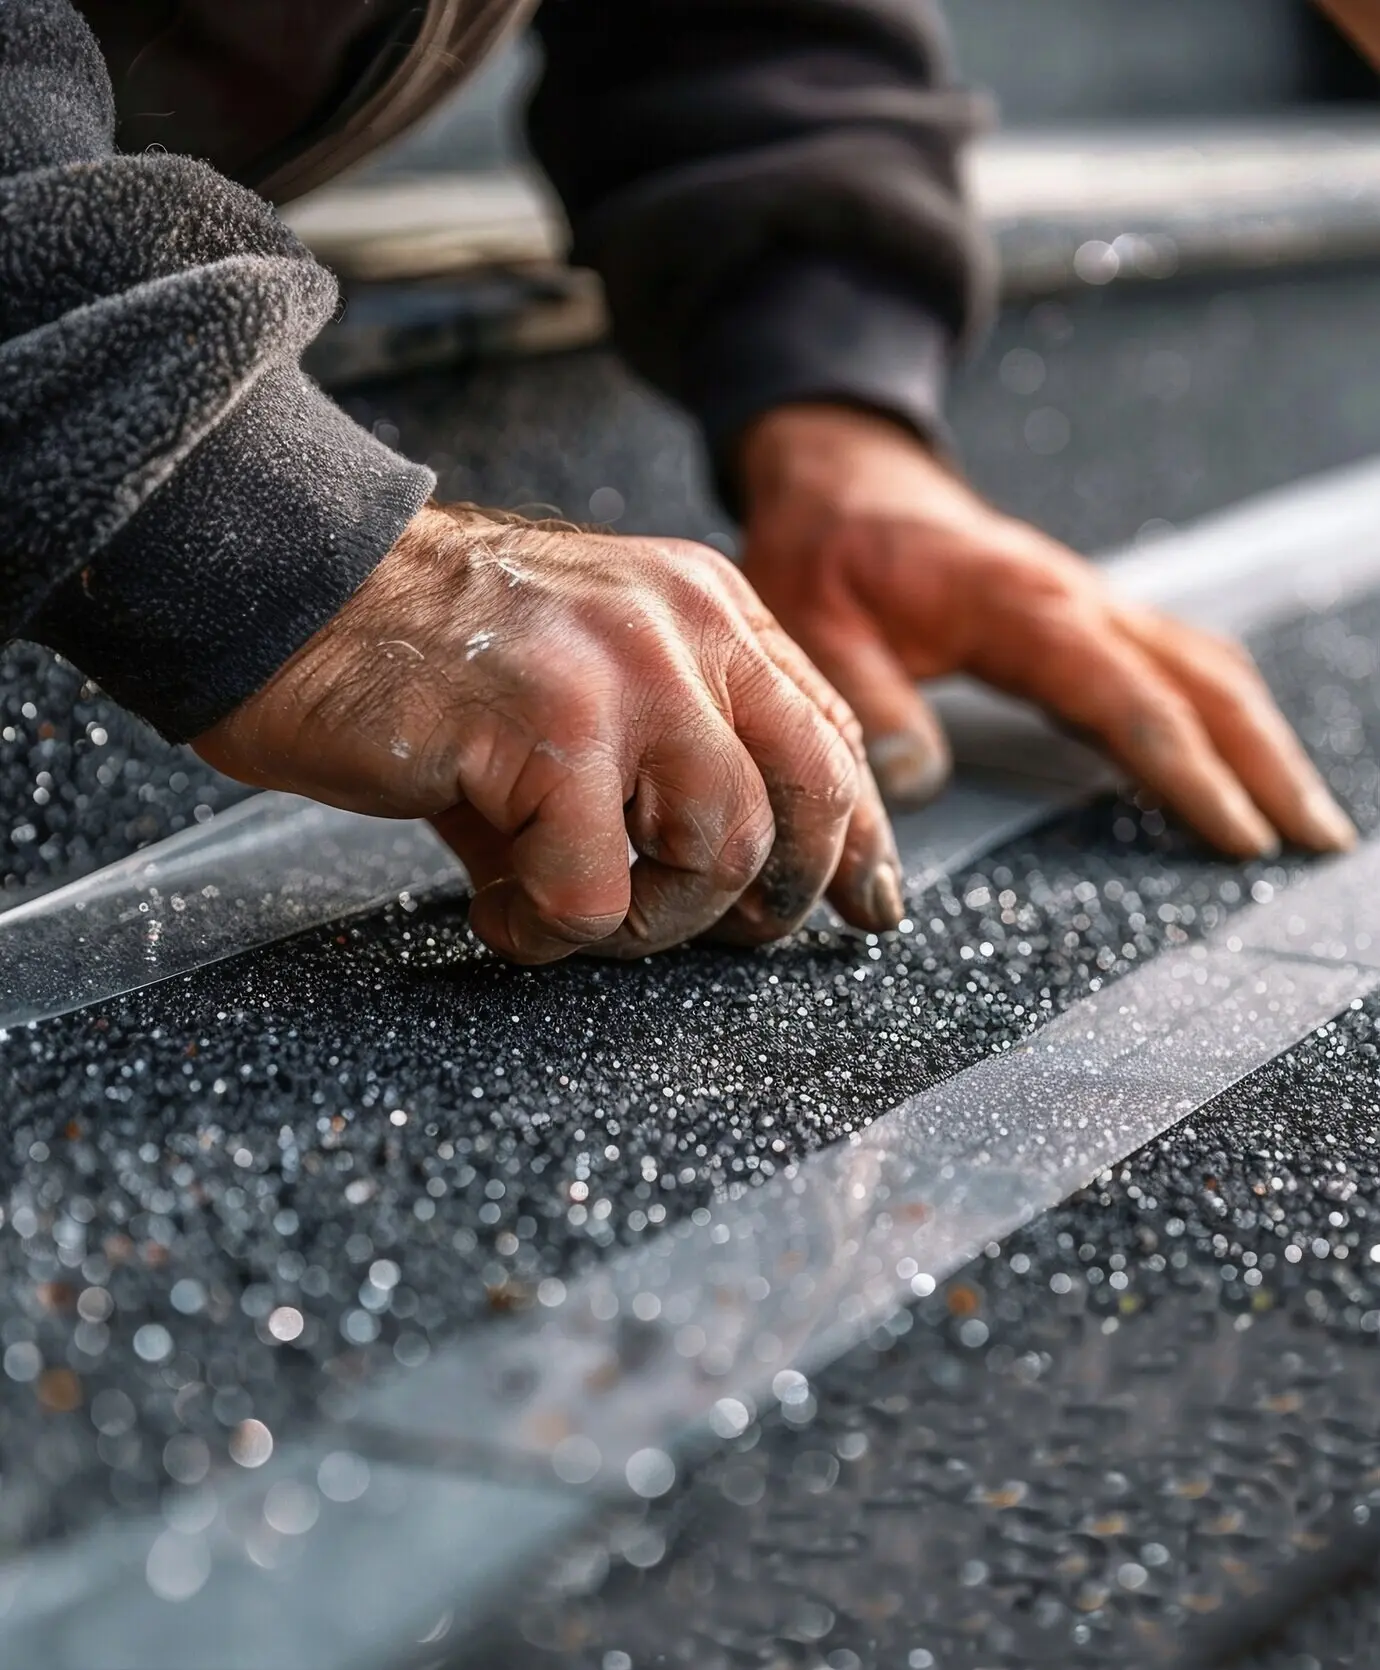
Barriers, Coatings, and Smart Alarms

Choose underlayment with proven vapor resistance in kitchens and basements, and seal penetrations around pipes. Add Wi‑Fi leak alarms under sinks, near water heaters, and behind refrigerators. Maintain finish film integrity with gentle cleaners. These layers buy time, allowing faster responses and preventing hidden wetting beneath beautiful, vulnerable wood.

Everyday Habits That Protect Wood

Choose underlayment with proven vapor resistance in kitchens and basements, and seal penetrations around pipes. Add Wi‑Fi leak alarms under sinks, near water heaters, and behind refrigerators. Maintain finish film integrity with gentle cleaners. These layers buy time, allowing faster responses and preventing hidden wetting beneath beautiful, vulnerable wood.

Plan Ahead: Maintenance, Warranties, and Insurance

Choose underlayment with proven vapor resistance in kitchens and basements, and seal penetrations around pipes. Add Wi‑Fi leak alarms under sinks, near water heaters, and behind refrigerators. Maintain finish film integrity with gentle cleaners. These layers buy time, allowing faster responses and preventing hidden wetting beneath beautiful, vulnerable wood.

Sarahandyshak
Privacy Overview

This website uses cookies so that we can provide you with the best user experience possible. Cookie information is stored in your browser and performs functions such as recognising you when you return to our website and helping our team to understand which sections of the website you find most interesting and useful.